The Complete Guide to Making Stunning, Gluten-Free Pumpkin Tarts That Taste Better Than the Original
My sister-in-law has celiac disease. Every holiday season for four years, she sat at the table and watched everyone else eat pumpkin pie while she had a small bowl of fruit. Nobody said anything about it. It just became the quiet, sad normal of every Thanksgiving.
The autumn of 2021, I decided to change that. I spent three weekends testing flourless pumpkin tart bases. My first attempt crumbled the moment I tried to slice it. My second was rubbery in the center and cracked across the top like a drought-stricken riverbed. My third batch, made with a pecan-oat crust and a carefully balanced custard filling, was so good that my brother-in-law ate two slices before I could tell him they were flourless. His exact words were, and I remember this clearly: I genuinely cannot tell.
That moment changed how I think about flourless baking. The assumption that flour is structural and irreplaceable is simply wrong. For tarts specifically, flour does very little work. The structure comes from the crust base, the eggs in the filling, and the baking temperature. Once you understand that, twenty-two different flourless pumpkin tart variations become not just possible but obvious.
This guide covers the foundational technique for flourless pumpkin tarts, all twenty-two variations organized by crust type and filling style, every mistake I made during development, full troubleshooting, equipment recommendations, and every question I have been asked since sharing these recipes. If you have a gluten-free guest at your table this season, or if you simply want a pumpkin tart that tastes cleaner and more interesting than the standard version, start here.
Why Flourless Pumpkin Tarts Are Actually Better Than Traditional Ones
Here is the contrarian opinion I will stand behind completely: flourless pumpkin tarts are superior to flour-based ones in every way that matters for a pumpkin filling. Let me explain why, because most baking articles are too polite to make this argument.
Traditional pastry crust for pumpkin tart exists because it is the default. Pastry crust requires chilling, blind baking, resting, and precise fat-to-flour ratios. It can become soggy under a custard filling if not executed perfectly. It contributes a neutral, buttery flavor that is pleasant but does not actually enhance the pumpkin and spice filling it supports.
A flourless nut or oat-based crust, by contrast, adds flavor. A pecan crust brings toasty, caramel notes that amplify the warmth of cinnamon and nutmeg. An almond crust adds a slightly marzipan sweetness that pairs beautifully with pumpkin’s earthiness. A coconut crust creates tropical contrast. These crusts do not compete with the filling. They complete it.
The filling itself benefits from removing flour entirely. Traditional pumpkin pie sometimes uses a small amount of flour or cornstarch as insurance against cracking. A properly made flourless pumpkin custard, relying on eggs, cream, and precise baking temperature, does not need that insurance. It sets more cleanly, slices more beautifully, and has a purer pumpkin flavor because there is nothing diluting it.
The Gluten-Free Benefit Is Real, But It Is Not the Only Reason to Make These
Approximately one percent of the global population has celiac disease, according to a 2018 review in the journal Gastroenterology. An additional six percent experiences non-celiac gluten sensitivity. That means at a dinner table of ten people, statistically one to two guests may benefit significantly from a flourless dessert. But I want to be clear: this guide is not written only for people with dietary restrictions. It is written for anyone who wants a pumpkin tart that is more interesting, more flavorful, and more impressive than the standard version.
The Four Flourless Crust Types and When to Use Each One
The crust is where most flourless tart recipes make their first mistake. They default to a single almond flour base and call it done. That works, but it limits the range of flavors and textures available to you. Understanding four distinct crust approaches opens up the full range of twenty-two variations in this guide.
Crust Type 1: The Nut-Press Crust
Made by pulsing nuts in a food processor with butter or coconut oil and a small amount of sweetener, then pressing into a tart pan. No rolling, no chilling required before pressing. Pecans, walnuts, almonds, cashews, and hazelnuts all work. The crust bakes at 350 degrees Fahrenheit for 10 to 12 minutes before the filling goes in. This is the most forgiving crust for beginners and produces the most flavor-forward result.
The key insight for nut-press crusts: pulse until the nuts are the texture of coarse breadcrumbs, not fine flour. If you over-process, the natural oils release and the crust becomes greasy rather than crumbly. Ten to twelve pulses is usually enough. The mixture should hold together when squeezed but not feel wet.
Crust Type 2: The Oat-Based Crust
Rolled oats pulsed with almond butter or tahini, maple syrup, and salt. This crust is naturally vegan, higher in fiber than nut-based versions, and has a chewier texture that some people prefer. Use certified gluten-free rolled oats if celiac disease is a concern, as standard oats are frequently cross-contaminated. Bob’s Red Mill Gluten-Free Rolled Oats and GF Harvest are both reliable brands.
Oat crusts require slightly longer blind baking, 14 to 16 minutes, because the oats need more time to toast and set. Under-baked oat crusts become mushy when the custard filling is added. Press firmly and evenly, and do not rush the blind bake.
Crust Type 3: The Coconut-Almond Crust
Unsweetened desiccated coconut combined with almond flour, melted coconut oil, and maple syrup. This crust has a tropical character that creates an unexpected and memorable contrast with the warming pumpkin spices. It is the crust I use for the more adventurous variations in this guide. It also produces the most beautiful golden color after baking, which makes for impressive presentation.
Crust Type 4: The Date-Nut Raw Crust
Blended Medjool dates with mixed nuts and a pinch of salt, pressed into the tart pan without any baking. This crust is no-bake, naturally sweet, and works for chilled tart variations where the filling also requires no oven time. The date crust is the most nutritionally dense option and requires the least effort. Its limitation is texture, which is denser and stickier than baked crusts, and flavor, which can overpower more delicate fillings.
The Master Flourless Pumpkin Tart Recipe
For the Pecan Press Crust (One 9-inch tart or six individual tartlets)
- 200 grams raw pecans
- 3 tablespoons unsalted butter, melted (or coconut oil for vegan version)
- 2 tablespoons pure maple syrup
- Quarter teaspoon fine sea salt
- Half teaspoon ground cinnamon
For the Pumpkin Custard Filling
- 425 grams pure pumpkin puree (one standard can, Libby’s 100% Pure Pumpkin is the most consistent product available)
- 3 large eggs plus one egg yolk
- 160 ml heavy cream or full-fat coconut cream for dairy-free
- 120 ml pure maple syrup or coconut sugar
- 1 teaspoon ground cinnamon
- Half teaspoon ground ginger
- Quarter teaspoon ground nutmeg
- Quarter teaspoon ground cloves
- Half teaspoon pure vanilla extract
- Quarter teaspoon fine sea salt
Step-by-Step Method
- Preheat oven to 350 degrees Fahrenheit (175 degrees Celsius). Lightly grease a 9-inch tart pan with a removable bottom with butter or coconut oil.
- Pulse pecans in a food processor 10 to 12 times until the texture resembles coarse breadcrumbs. Do not over-process.
- Add melted butter, maple syrup, salt, and cinnamon to the food processor. Pulse 4 to 5 times until combined and the mixture holds together when squeezed.
- Press the crust mixture firmly and evenly into the bottom and up the sides of the tart pan. Use the back of a measuring cup for an even surface.
- Blind bake the crust for 12 minutes until lightly golden. Remove and allow to cool for 5 minutes.
- Reduce oven to 325 degrees Fahrenheit (165 degrees Celsius).
- Whisk all filling ingredients together in a large bowl until completely smooth. Do not use a blender, which incorporates too much air and can cause cracking.
- Pour the filling into the pre-baked crust. The filling should come to within 5mm of the top edge of the crust.
- Bake at 325 degrees Fahrenheit for 40 to 50 minutes. The tart is done when the edges are set and the center has a slight wobble when gently shaken. It will continue to firm up as it cools.
- Cool at room temperature for one hour, then refrigerate for a minimum of two hours before slicing. Overnight refrigeration produces the cleanest slices.
Total active time: 25 minutes. Total time including baking and chilling: approximately 4 hours. The tart keeps refrigerated for up to five days, covered loosely with plastic wrap.
All 22 Flourless Pumpkin Tart Variations
Classic and Traditional Variations (1 to 7)
Variation 1: The Classic Pecan Crust. The master recipe exactly as written. Pecan crust with traditional pumpkin spice custard. This is your benchmark. Make it first. Everything else builds from here.
Variation 2: Walnut and Brown Butter Crust. Replace pecans with walnuts and use browned butter instead of regular melted butter in the crust. Brown the butter in a small saucepan over medium heat until golden and smelling nutty, about 4 minutes. The nuttiness of browned butter amplifies the walnut flavor and adds a deep caramel note to the crust that complements the pumpkin filling exceptionally well.
Variation 3: Almond and Cardamom Crust. Use blanched almonds as the base nut and add half a teaspoon of ground cardamom to the crust mixture. Replace the cinnamon in the filling with an equal mix of cardamom and cinnamon. The floral warmth of cardamom creates a Middle Eastern-influenced variation that surprises and delights people who think they know what pumpkin tart tastes like.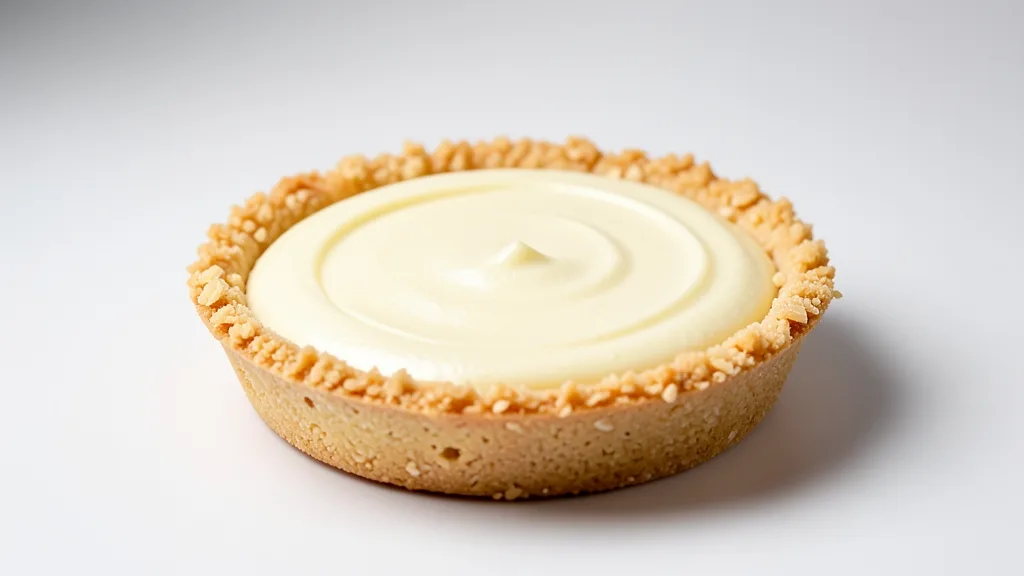
Variation 4: Hazelnut Praline Crust. Toast 200 grams of hazelnuts at 350 degrees for 10 minutes, rub in a clean kitchen towel to remove skins, then process with butter, maple syrup, and salt as in the master recipe. Toasted hazelnut crust has a Nutella-adjacent quality that makes this variation universally popular. It is the one variation I have never seen anyone refuse.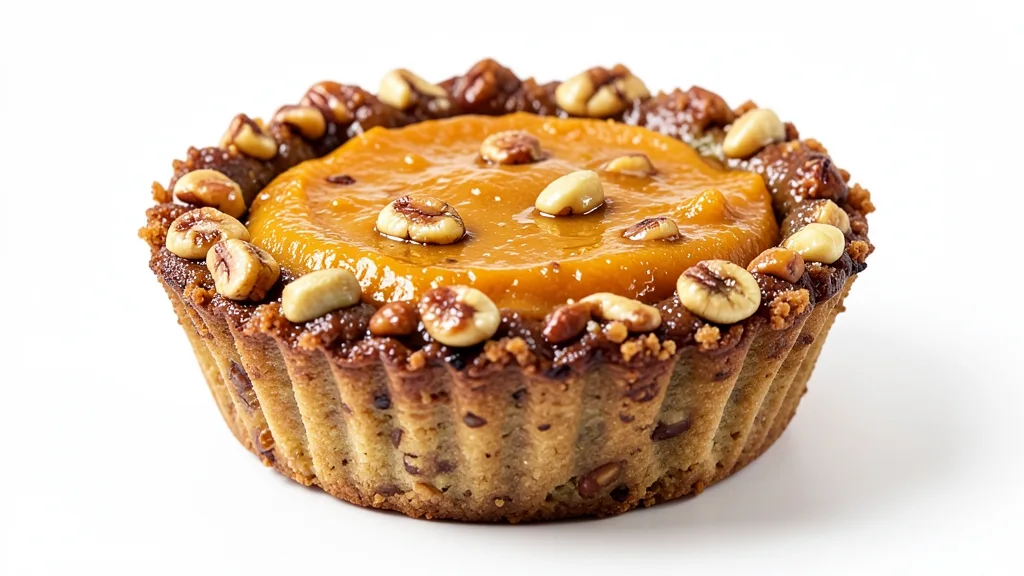
Variation 5: Classic Oat Crust with Almond Butter. Use the oat-based crust approach with almond butter as the binder. This version has the most fiber, the most approachable flavor, and the cleanest ingredient list of all twenty-two. It is also the most budget-friendly variation, costing roughly thirty percent less than nut-based versions per tart.
Variation 6: Maple Glazed Pecan Tart. Make the master recipe and finish with a thin glaze of two tablespoons of maple syrup warmed with half a teaspoon of butter and brushed over the surface of the cooled tart. Arrange whole toasted pecans across the top before the glaze sets. This is the variation for when presentation matters as much as flavor.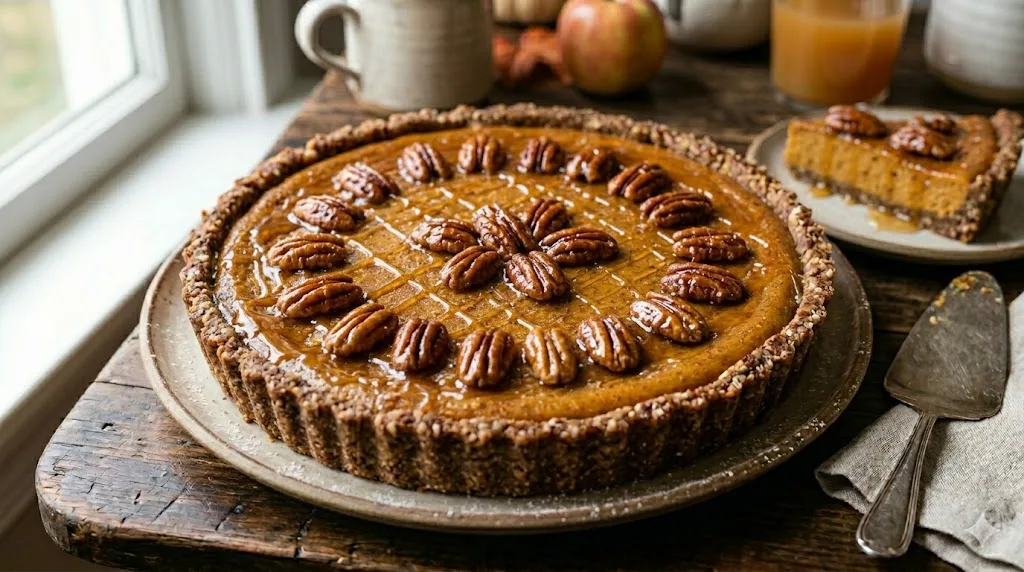
Variation 7: Gingerbread Spiced Crust. Add one teaspoon of ground ginger, half a teaspoon of ground cinnamon, quarter teaspoon of ground cloves, and quarter teaspoon of black pepper to the nut-press crust mixture. This creates a crust with the flavor profile of gingerbread that pairs beautifully with the classic pumpkin filling. The black pepper adds a subtle warmth that people notice but cannot identify.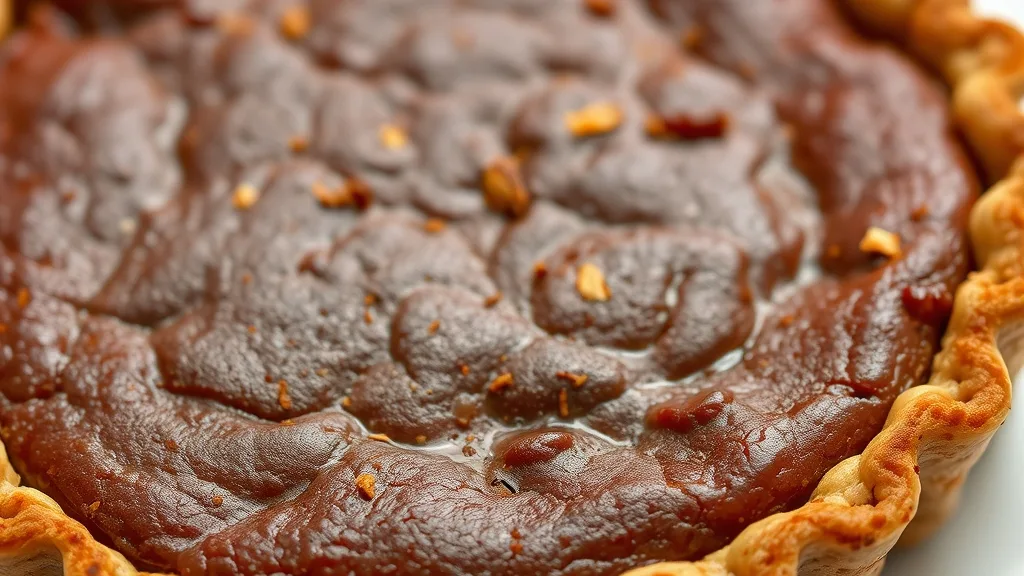
Dairy-Free and Vegan Variations (8 to 12)
Variation 8: Full Coconut Cream Vegan Tart. Replace the heavy cream with full-fat coconut cream (refrigerated overnight and only the solid portion used) and replace the eggs with three tablespoons of ground flaxseed mixed with nine tablespoons of water, rested for ten minutes until gel-like. Replace butter in the crust with coconut oil. This fully vegan version requires slightly longer baking, 50 to 55 minutes, and must chill overnight for clean slicing.
Variation 9: Cashew Cream Pumpkin Tart. Blend 150 grams of soaked raw cashews with 80ml of water until completely smooth to create cashew cream. Use this instead of heavy cream. The cashew cream produces a richer, more neutral flavor than coconut cream and does not impart any tropical character. This is the dairy-free variation I recommend for people who dislike coconut.
Variation 10: Aquafaba Meringue-Topped Tart. Make the master dairy-free filling and bake as directed. While it cools, whip 120ml of aquafaba (the liquid from a can of chickpeas) with cream of tartar and maple syrup until stiff peaks form, approximately 8 to 10 minutes with a stand mixer. Spread or pipe the meringue over the cooled tart and lightly torch or broil until golden. This creates a showstopper dessert that is fully vegan.
Variation 11: Tahini Swirl Dairy-Free Tart. Make the coconut cream vegan version. Before baking, drop four teaspoons of runny tahini over the surface of the filling and use a skewer to swirl it gently in a decorative pattern. The sesame flavor of tahini with pumpkin and warm spices is an unexpected but genuinely excellent combination.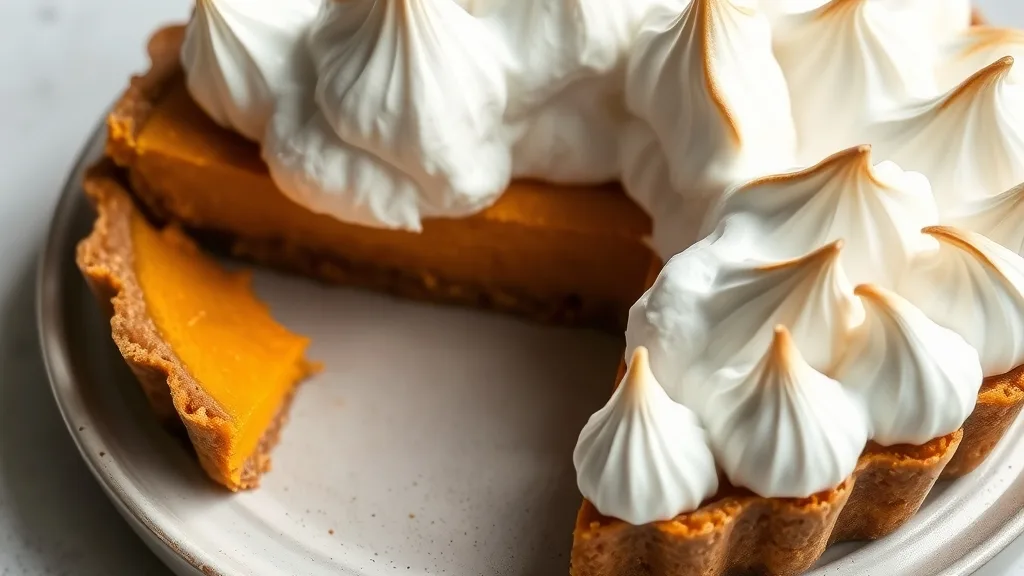
Variation 12: Date-Sweetened No-Added-Sugar Tart. Replace the maple syrup in both crust and filling with blended Medjool dates thinned with warm water to a pourable consistency. Use four large dates blended with three tablespoons of warm water for the filling. This variation has no refined or processed sweetener of any kind and is the most nutritionally whole version in this collection.
Flavor-Forward and Adventurous Variations (13 to 18)
Variation 13: Espresso Pumpkin Tart. Add one tablespoon of finely ground espresso or one teaspoon of instant espresso powder to the filling mixture. The coffee deepens the flavor of the pumpkin and spices and adds a slight bitterness that balances the sweetness of the custard. This is the variation for adults who prefer less sweet desserts.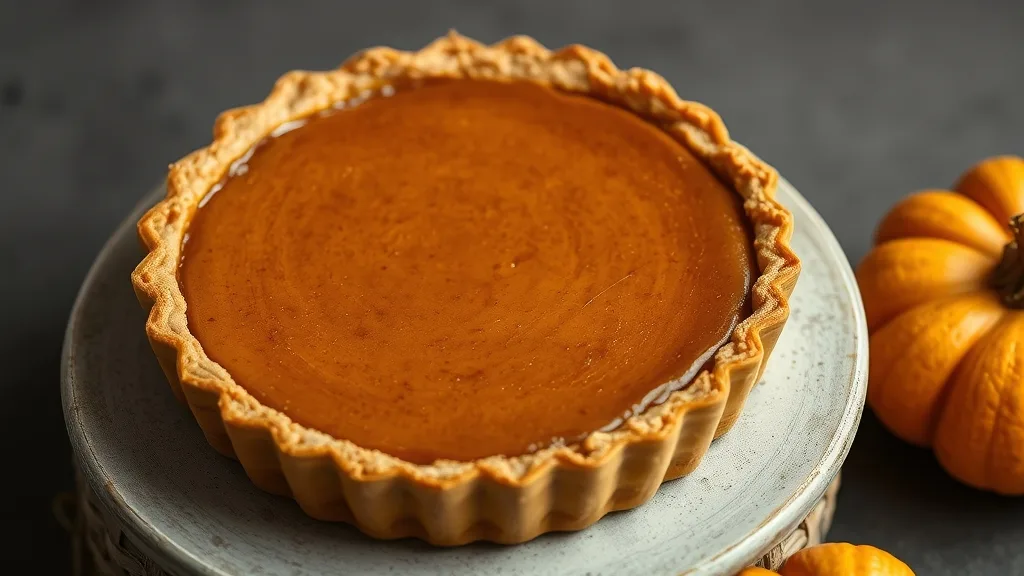
Variation 14: Chocolate Swirl Pumpkin Tart. Melt 60 grams of 70% dark chocolate with one tablespoon of coconut oil. Pour the pumpkin filling into the pre-baked crust, then drizzle the dark chocolate over the surface in thin ribbons. Use a skewer to create a marble pattern. The dark chocolate sets during baking and creates dramatic visual contrast as well as flavor complexity.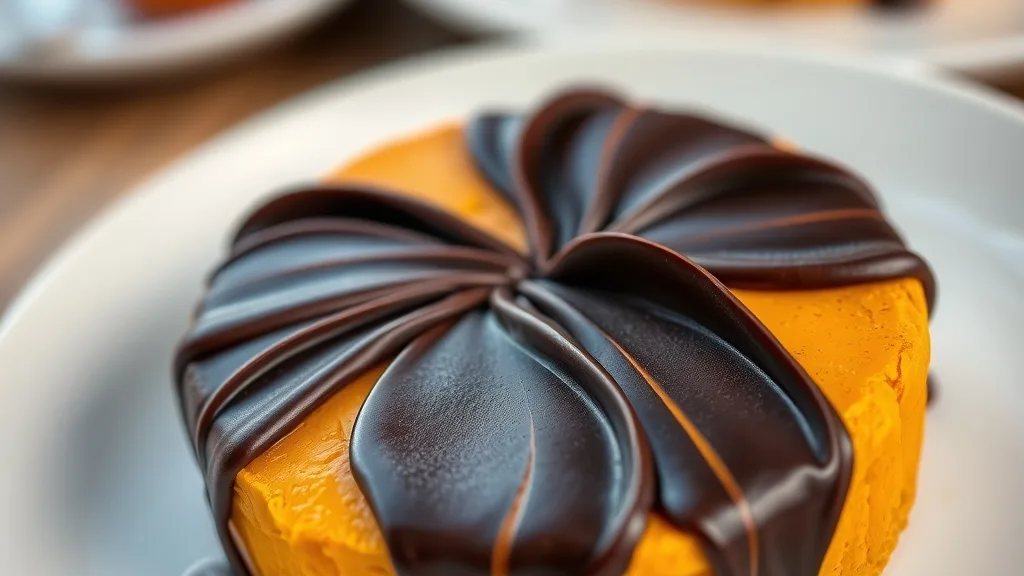
Variation 15: Salted Caramel Pumpkin Tart. Make a simple date caramel by blending five soaked Medjool dates with three tablespoons of warm water, one tablespoon of coconut oil, and half a teaspoon of sea salt until smooth. Spread a thin layer over the pre-baked crust before adding the pumpkin filling. The caramel layer creates a surprise element when the tart is sliced and the flavors work together magnificently.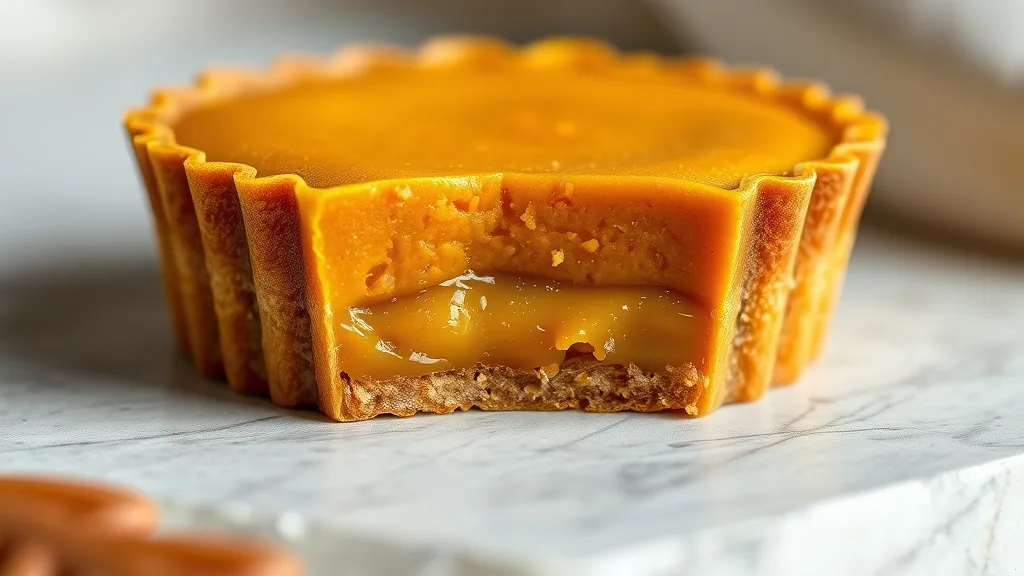
Variation 16: Black Sesame and Pumpkin Tart. Add two tablespoons of black sesame paste to the filling mixture. Black sesame has a deep, slightly bitter, nutty flavor that creates beautiful visual contrast against the orange pumpkin filling and adds complexity that standard pumpkin tart completely lacks. Serve with a sprinkle of toasted black sesame seeds over the finished tart.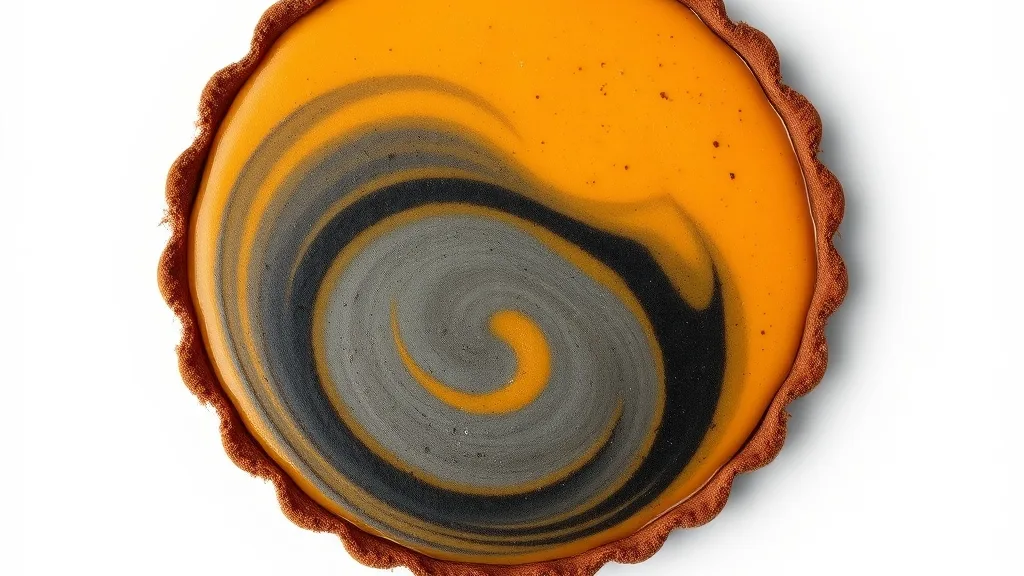
Variation 17: Miso Caramel Pumpkin Tart. Whisk one tablespoon of white miso paste into the filling alongside the other ingredients. The miso adds a fermented, savory depth that makes the sweetness of the pumpkin and maple more complex and interesting. This is the variation that food-obsessed guests ask about most often.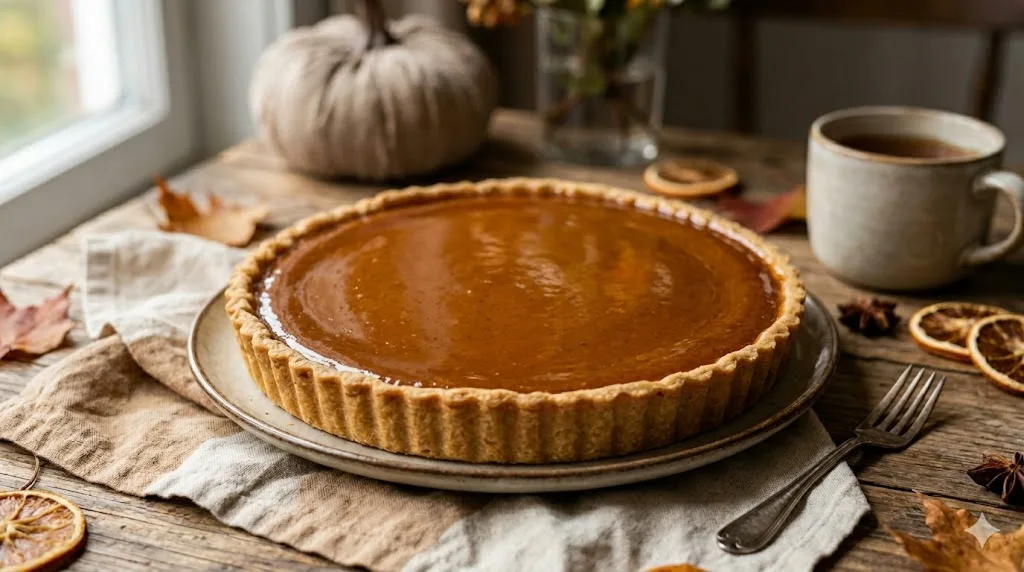
Variation 18: Chai Spiced Pumpkin Tart. Replace the standard spice blend in the filling with a chai-inspired mixture: one teaspoon cinnamon, half teaspoon ground cardamom, quarter teaspoon ground ginger, quarter teaspoon ground black pepper, eighth teaspoon ground cloves, and eighth teaspoon ground fennel seed. Add one teaspoon of strongly brewed black tea reduced to a tablespoon by simmering. The fennel and black pepper give this version a genuinely distinctive character.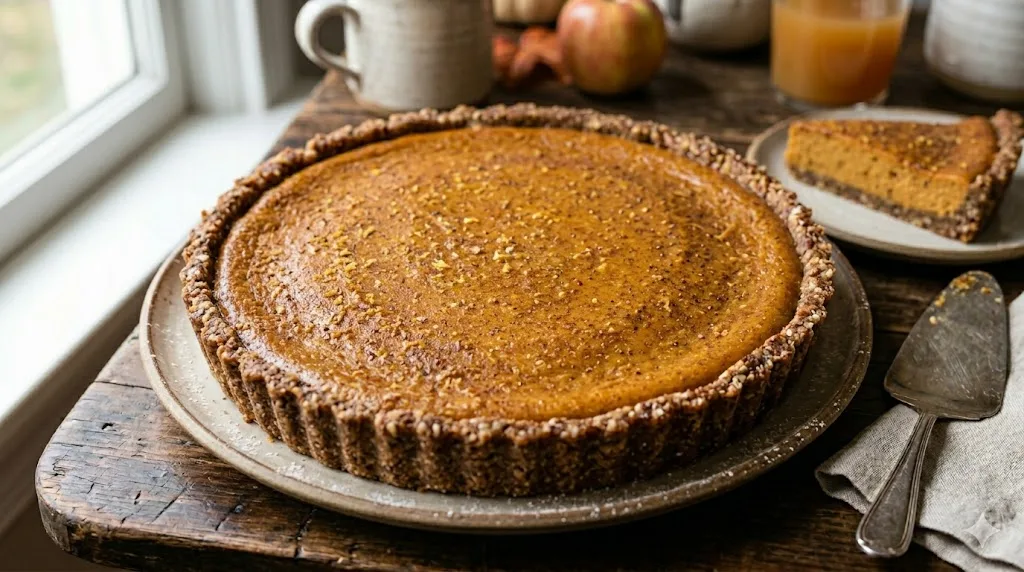
Mini Tarts and Presentation Variations (19 to 22)
Variation 19: Individual Mini Tarts for Entertaining. Use a standard muffin tin greased generously with butter or coconut oil. Divide the crust mixture into 12 portions and press each into a muffin cup, building up the sides. Blind bake for 8 minutes. Fill each with pumpkin custard to just below the top. Bake at 325 degrees for 20 to 25 minutes. Individual tarts look impressive, are easier to serve than a full tart, and store individually wrapped for longer.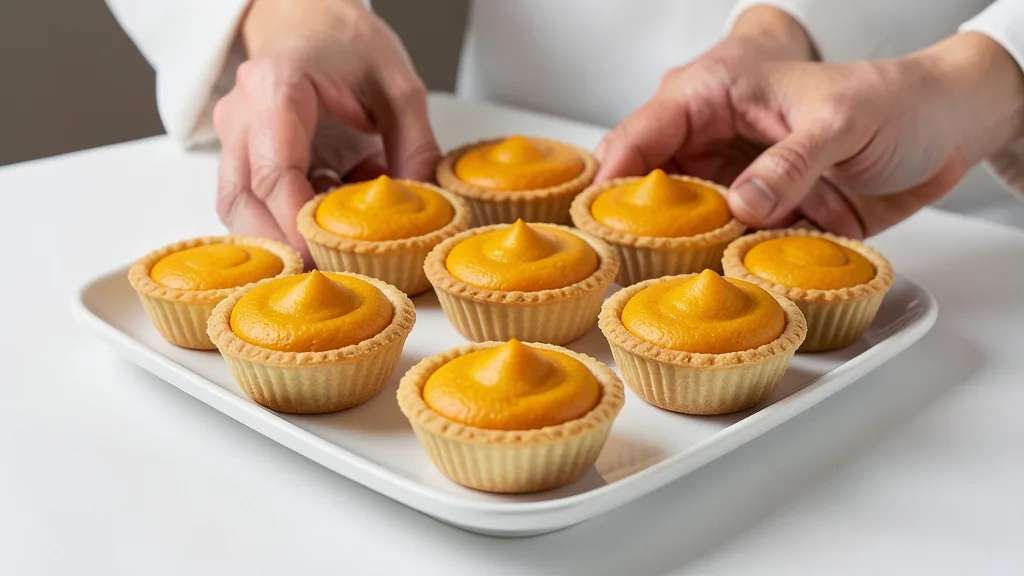
Variation 20: Layered Pumpkin and Cream Cheese Tart. Spread a layer of sweetened cream cheese (or vegan cream cheese) over the pre-baked crust before adding the pumpkin filling. Combine 200 grams of cream cheese with two tablespoons of maple syrup and one teaspoon of vanilla extract. Spread evenly across the crust, then pour the pumpkin filling on top. The cream cheese layer creates a cheesecake-like base that makes this variation feel like two desserts in one.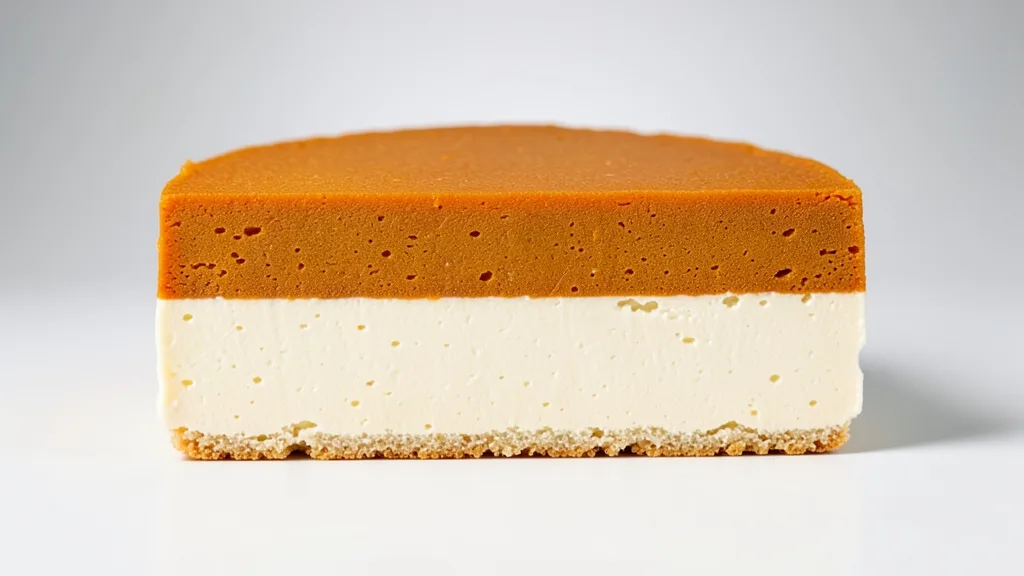
Variation 21: Pumpkin Tart with Candied Pepitas Topping. Make the master recipe. For the topping, toss 80 grams of raw pumpkin seeds with one tablespoon of maple syrup, quarter teaspoon of cinnamon, and a pinch of cayenne. Spread on a parchment-lined baking sheet and roast at 350 degrees for 8 to 10 minutes until golden and fragrant. Scatter over the cooled tart. The candied pepitas add crunch, visual appeal, and a spiced sweetness that enhances every bite.
Variation 22: No-Bake Chilled Pumpkin Tart. Use the date-nut raw crust. For the filling, blend 400 grams of pumpkin puree with 200 grams of soaked and drained raw cashews, 80ml of maple syrup, two tablespoons of melted coconut oil, the full spice blend, and a pinch of salt until completely smooth in a high-speed blender. Pour over the raw crust and freeze for a minimum of three hours. Remove from the freezer 20 minutes before serving. This is the only variation that requires no oven at all and it is genuinely remarkable.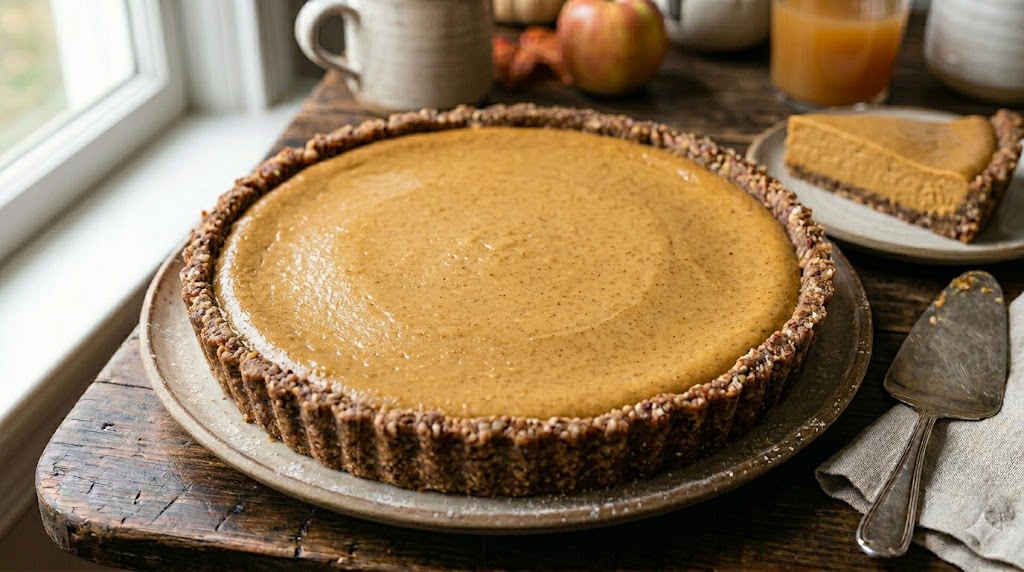
All 22 Variations at a Glance
| # | Variation | Crust Type | Key Feature | Difficulty |
| 1 | Classic Pecan | Nut-press | Master recipe benchmark | Beginner |
| 2 | Walnut Brown Butter | Nut-press | Browned butter depth | Beginner |
| 3 | Almond Cardamom | Nut-press | Middle Eastern warmth | Beginner |
| 4 | Hazelnut Praline | Nut-press | Toasted hazelnut richness | Beginner |
| 5 | Classic Oat | Oat-based | Most budget-friendly | Beginner |
| 6 | Maple Glazed Pecan | Nut-press | Decorative finish | Beginner |
| 7 | Gingerbread Spiced | Nut-press | Black pepper warmth | Beginner |
| 8 | Full Coconut Vegan | Nut-press | 100% plant-based | Intermediate |
| 9 | Cashew Cream | Nut-press | Dairy-free, neutral flavor | Intermediate |
| 10 | Aquafaba Meringue | Oat-based | Vegan showstopper | Advanced |
| 11 | Tahini Swirl | Nut-press | Sesame complexity | Beginner |
| 12 | Date-Sweetened | Date-nut raw | Zero refined sugar | Intermediate |
| 13 | Espresso Pumpkin | Nut-press | Coffee depth | Beginner |
| 14 | Chocolate Swirl | Nut-press | Dark chocolate marble | Beginner |
| 15 | Salted Caramel | Nut-press | Hidden caramel layer | Intermediate |
| 16 | Black Sesame | Coconut-almond | Dramatic visual contrast | Intermediate |
| 17 | Miso Caramel | Nut-press | Savory-sweet umami | Beginner |
| 18 | Chai Spiced | Oat-based | Fennel and black pepper | Beginner |
| 19 | Individual Mini Tarts | Any crust type | Entertaining-ready | Intermediate |
| 20 | Cream Cheese Layer | Oat-based | Cheesecake-meets-pumpkin | Intermediate |
| 21 | Candied Pepitas Top | Nut-press | Crunchy spiced topping | Beginner |
| 22 | No-Bake Chilled | Date-nut raw | Zero oven required | Intermediate |
The Mistakes That Taught Me Everything
The Cracked Filling Problem
Cracking happens for three reasons: oven temperature too high, overbaking, or too much air incorporated into the filling. My first batch cracked dramatically because I was baking at 350 degrees for the full time. Reducing to 325 degrees solved the temperature problem. The second batch cracked because I used a hand mixer on the filling. Whisking by hand prevents excessive air incorporation. The third batch cracked because I left it in the oven until the center was completely set. The center should wobble slightly when the pan is gently shaken. It finishes setting during cooling.
The Soggy Crust Problem
A soggy crust has two possible causes. The first is under-baking the crust before adding the filling. Blind-baking for the full 12 to 16 minutes depending on crust type is not optional. The second cause is not allowing the crust to cool before pouring in the filling. A hot crust begins steaming the filling from below and creates moisture that softens the base. Five minutes of cooling after blind baking is sufficient.
The Watery Pumpkin Problem
Some canned pumpkin purée contains more moisture than others, and fresh pumpkin purée made at home is almost always wetter than canned. If your filling looks thin before baking, strain the pumpkin purée through a fine-mesh sieve or cheesecloth for 30 minutes before mixing. The moisture that drains out is responsible for fillings that never quite set properly. Libby’s 100% Pure Pumpkin is the most consistent canned option I have tested. Off-brand pumpkin purée varies significantly.
The Crust That Crumbles When Cut
Over-processing the nuts or under-binding the crust. If the nuts are processed to a fine powder, they release their oils fully and the crust becomes sandy rather than crumbly-cohesive. Twelve pulses maximum. If the crust still crumbles after baking, the butter or oil ratio needs increasing by half a tablespoon. Every batch of nuts has slightly different oil content, which means small adjustments are occasionally necessary.
Nutritional Comparison: Flourless vs Traditional Pumpkin Tart
| Version | Calories/Slice | Net Carbs | Fiber | Protein | Gluten-Free |
| Traditional flour crust pumpkin pie | 320 kcal | 38g | 2g | 5g | No |
| Flourless pecan crust (master recipe) | 275 kcal | 22g | 3g | 6g | Yes |
| Oat crust variation | 255 kcal | 26g | 4g | 7g | Yes (if GF oats) |
| Coconut-almond crust | 290 kcal | 20g | 4g | 6g | Yes |
| Date-nut raw crust | 310 kcal | 28g | 5g | 7g | Yes |
| No-bake cashew filling | 295 kcal | 24g | 4g | 8g | Yes |
| Vegan coconut cream version | 260 kcal | 23g | 3g | 4g | Yes |
Nutritional estimates are per one-eighth slice of a standard 9-inch tart. Values are approximate and vary based on specific ingredients and brands used. Calculated using USDA nutritional database values as of early 2025.
Frequently Asked Questions
Can I use fresh pumpkin instead of canned for flourless tarts?
Yes, but with an important preparation step. Fresh pumpkin purée contains significantly more moisture than canned. After roasting and pureeing your pumpkin, strain it through a fine-mesh sieve lined with cheesecloth for a minimum of 30 minutes, pressing gently to extract as much liquid as possible. The resulting purée should be thick and almost paste-like. Sugar pumpkins and Long Island Cheese pumpkins produce the best flavor. Carving pumpkins have too much water and too little sweetness for baking.
How do I prevent the tart from sticking to the pan?
Use a tart pan with a removable bottom and grease it generously before pressing in the crust. Run a thin offset spatula or butter knife around the edge of the tart before releasing the bottom. If the tart still sticks, place the bottom of the pan on a wide, flat can (like a standard tomato can) and press down gently. The ring will slide off cleanly. Never force it.
Can I make flourless pumpkin tarts ahead of time?
Yes, and they are actually better made ahead. The flavors develop and deepen significantly overnight. A fully assembled and baked flourless pumpkin tart keeps in the refrigerator for up to five days, covered loosely with plastic wrap. The crust softens slightly after day three but remains completely enjoyable. For best results, make the tart the day before serving and let it chill overnight before slicing.
Why does my flourless tart filling puff up during baking and then sink?
Puffing and sinking is caused by too much air in the filling or oven temperature that is too high. Whisk the filling by hand rather than with a mixer, and bake at 325 degrees rather than higher temperatures. A small amount of puffing and settling is normal and does not affect flavor or texture. If the sinking is dramatic and the center looks wet after cooling completely, the tart was under-baked and needs longer next time.
What is the best substitute for eggs in flourless pumpkin tarts?
The most reliable egg substitute for pumpkin tart is the flaxseed egg: one tablespoon of ground flaxseed mixed with three tablespoons of water, rested for ten minutes. Use one flax egg per large egg in the recipe. Three flax eggs replace three large eggs and one yolk with reasonable accuracy. The texture is slightly denser than an egg-based filling and requires the full overnight chill for clean slicing. Chia seed eggs work similarly. Commercial egg replacers like Bob’s Red Mill Egg Replacer also perform well in this application.
Can I freeze flourless pumpkin tarts?
Yes. The no-bake chilled variation is specifically designed for freezing. Baked variations freeze well when individually wrapped in plastic wrap and placed in a sealed container. Freeze for up to two months. Thaw overnight in the refrigerator. The crust texture changes slightly after freezing and thawing, becoming slightly more compact, but the flavor is unaffected. Do not thaw at room temperature as condensation softens the crust.
Are these tarts suitable for people with nut allergies?
The oat-based crust variations (5, 18) and the no-bake date crust variations using seeds instead of nuts are suitable for most nut-free diets. However, cross-contamination is always a concern with oats and seeds processed in shared facilities. For severe nut allergies, verify that every ingredient is processed in a nut-free facility. Sunflower seeds and pumpkin seeds can substitute for nuts in the press crust with adjusted ratios, approximately the same weight with slightly more binding fat needed.
Why does my nut crust shrink away from the sides during baking?
Nut-press crusts shrink slightly if the nuts were over-processed into a fine powder or if too little fat was used. Ensure the nut mixture is coarse breadcrumb texture, not fine flour. Press the crust firmly up the sides, ensuring it extends slightly above the edge of the pan to account for natural settling. If shrinkage is significant, increase the butter or coconut oil by half a tablespoon in your next batch.
The Tart That Changed How I Think About Flour
Three years ago I made a flourless pumpkin tart because I wanted my sister-in-law to have dessert at Thanksgiving. What I did not expect was that it would become the dessert everyone asks for, not the fallback for someone with dietary restrictions.
That is the real lesson of these twenty-two variations. Removing flour from a pumpkin tart does not create a compromise. It creates an opportunity. An opportunity to add flavor through the crust instead of neutrality. An opportunity to serve a dessert that is genuinely better for more people at the table without anyone feeling like they received the lesser version.
Start with the classic pecan crust master recipe. Make it once and understand how it works. Then choose the variation that fits your occasion, your guests, or simply your curiosity. The hazelnut praline version for something universally loved. The miso caramel for when you want to genuinely surprise a food-obsessed guest. The no-bake chilled version for when you want maximum impact with minimum oven time.
My prediction for flourless baking: it will move from a niche dietary accommodation to a mainstream baking preference as people realize these versions taste better, not just different. The tart that started as a kindness for one person at one table has become the standard I now apply to almost every tart I make.
Which of the twenty-two variations will you make first, and is there a flavor combination or crust ingredient you want to experiment with that I have not covered here?
Note: Nutritional estimates are approximate and vary by ingredient brand, portion size, and preparation method. Individuals with celiac disease should verify all ingredients are certified gluten-free. Always consult a healthcare provider regarding specific dietary needs and restrictions.